AI can create a convincing first website draft quickly. The final pass is different: a headline may need stronger contrast, a section message may need a clearer hierarchy, an image may need replacing, or the closing call to action may need a more deliberate treatment.
Those are usually local visual decisions. They should not force you to regenerate a whole page or search through the source code for every small change. When you already have an HTML file, a visual HTML editor lets you work from the rendered page, make a targeted adjustment, and check the result before you export it.
This walkthrough follows that workflow in HtmlDrag. It starts with a self-contained product landing page called ClarityDesk. The page is an existing HTML source, not a mock editor. Whether your file came from an AI tool, a code generator, or an earlier project, the same principle applies: preserve the useful draft and refine the visible details in context.
How to edit an AI-generated website without coding
Start with the HTML you already have. Open it in a visual HTML editor, select the visible element that needs attention, make a supported text, style, or image change, and preview the page before you export it. This approach is especially useful after tools such as ChatGPT, Claude, v0, Lovable, or a code generator have produced a page that is close but not quite ready to publish.
Why refine an AI-generated website instead of regenerating it?
Regeneration is useful when the page has a structural problem. It is less useful when the page already has the right content and sections but needs a small visual decision. Re-running a prompt for one heading or one asset can change unrelated parts of the page.
A focused visual pass is often the safer choice when you need to:
- improve the emphasis of a headline or call to action;
- adjust visible text without rebuilding the section around it;
- apply a text or background color in the real page context;
- check image replacement options for an existing visual asset;
- review the finished page before saving, copying, or exporting HTML.
The workflow: upload the existing HTML, then refine what visitors see
The workflow used here is:
Upload HTML → confirm the source file → open the visual editor → select visible content → make a focused change → preview the final page
For this article, Upload HTML is the right starting point because the page already exists as a local file. If your starting point is code copied from an AI chat instead, Paste Code can be the equivalent entry point. The goal is the same: start with the page you have instead of rebuilding from a blank canvas.
Step 1: Start at Upload HTML
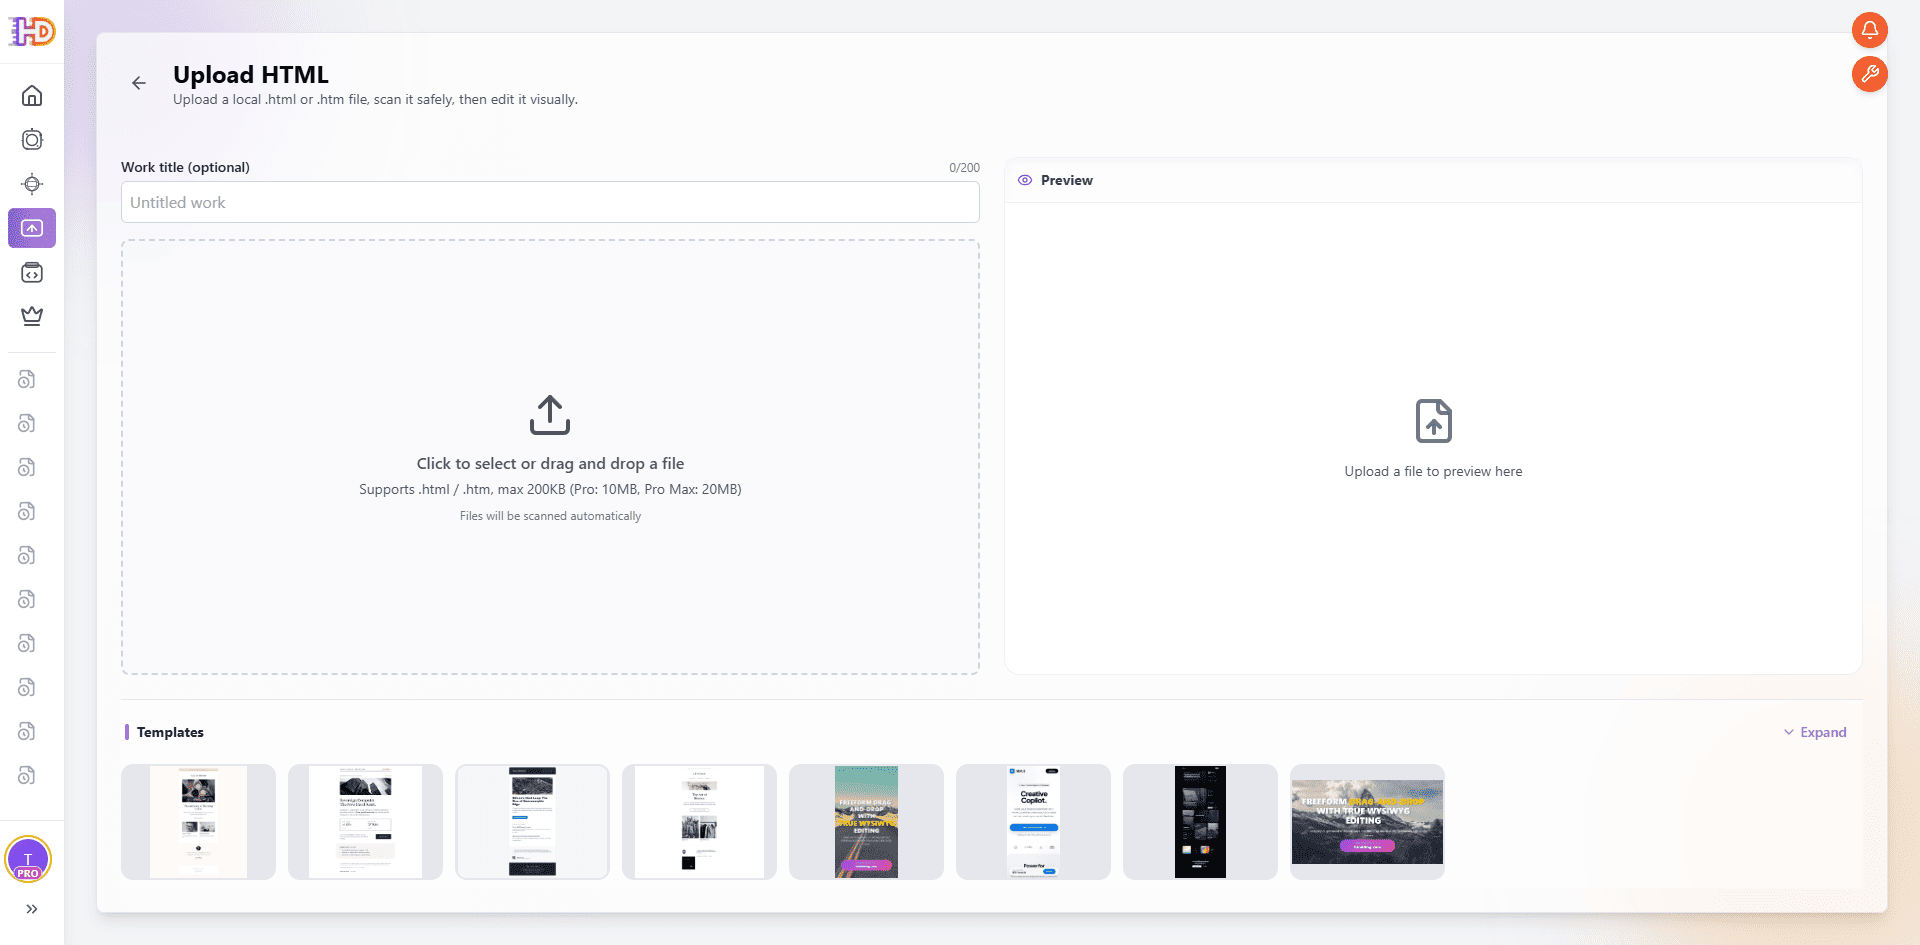
Open Upload HTML when you have a local .html or .htm file. The initial screen gives you a work title field, a file selection area, and a preview space. At this point, nothing has been changed yet; it is simply the handoff from your existing source file to the visual editing workflow.
 Step 2: Confirm the existing source file
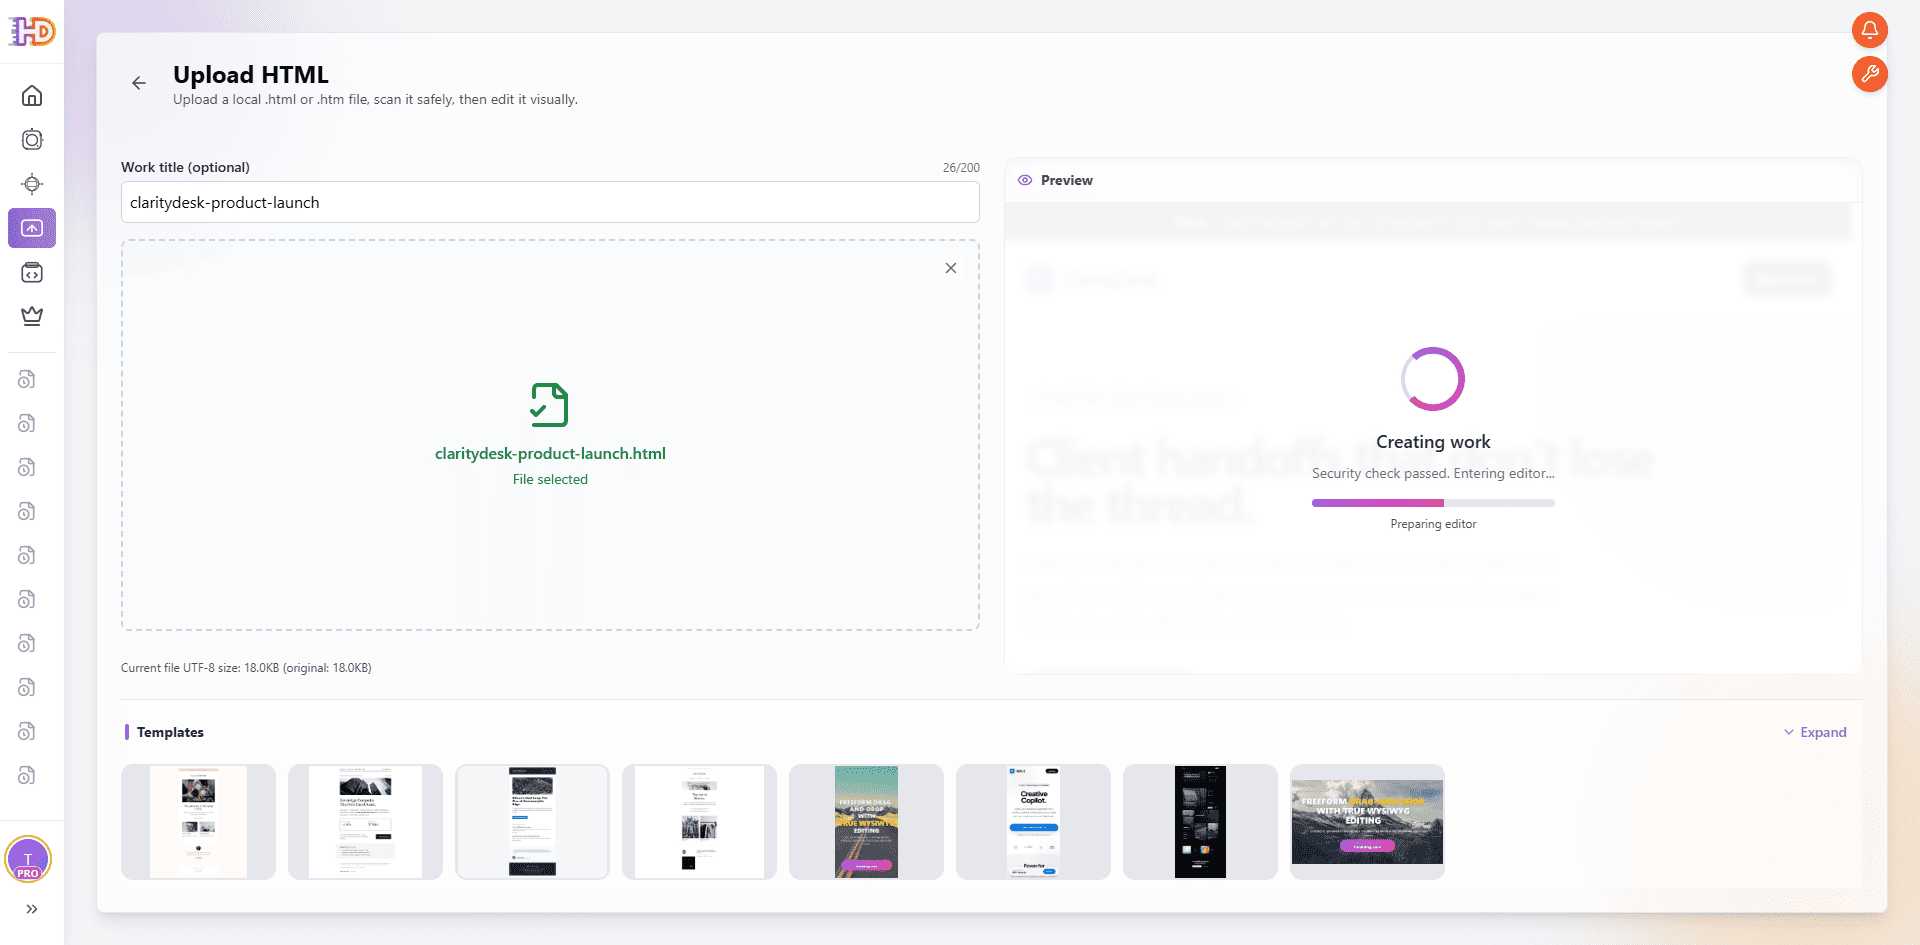
After selecting the file, confirm its filename and the work title before entering the editor. In this example, the source is claritydesk-product-launch.html. This is a useful checkpoint: it makes clear that the page is being refined as an existing HTML document rather than generated again from a prompt.
 Step 3: Open the rendered page in the visual editor
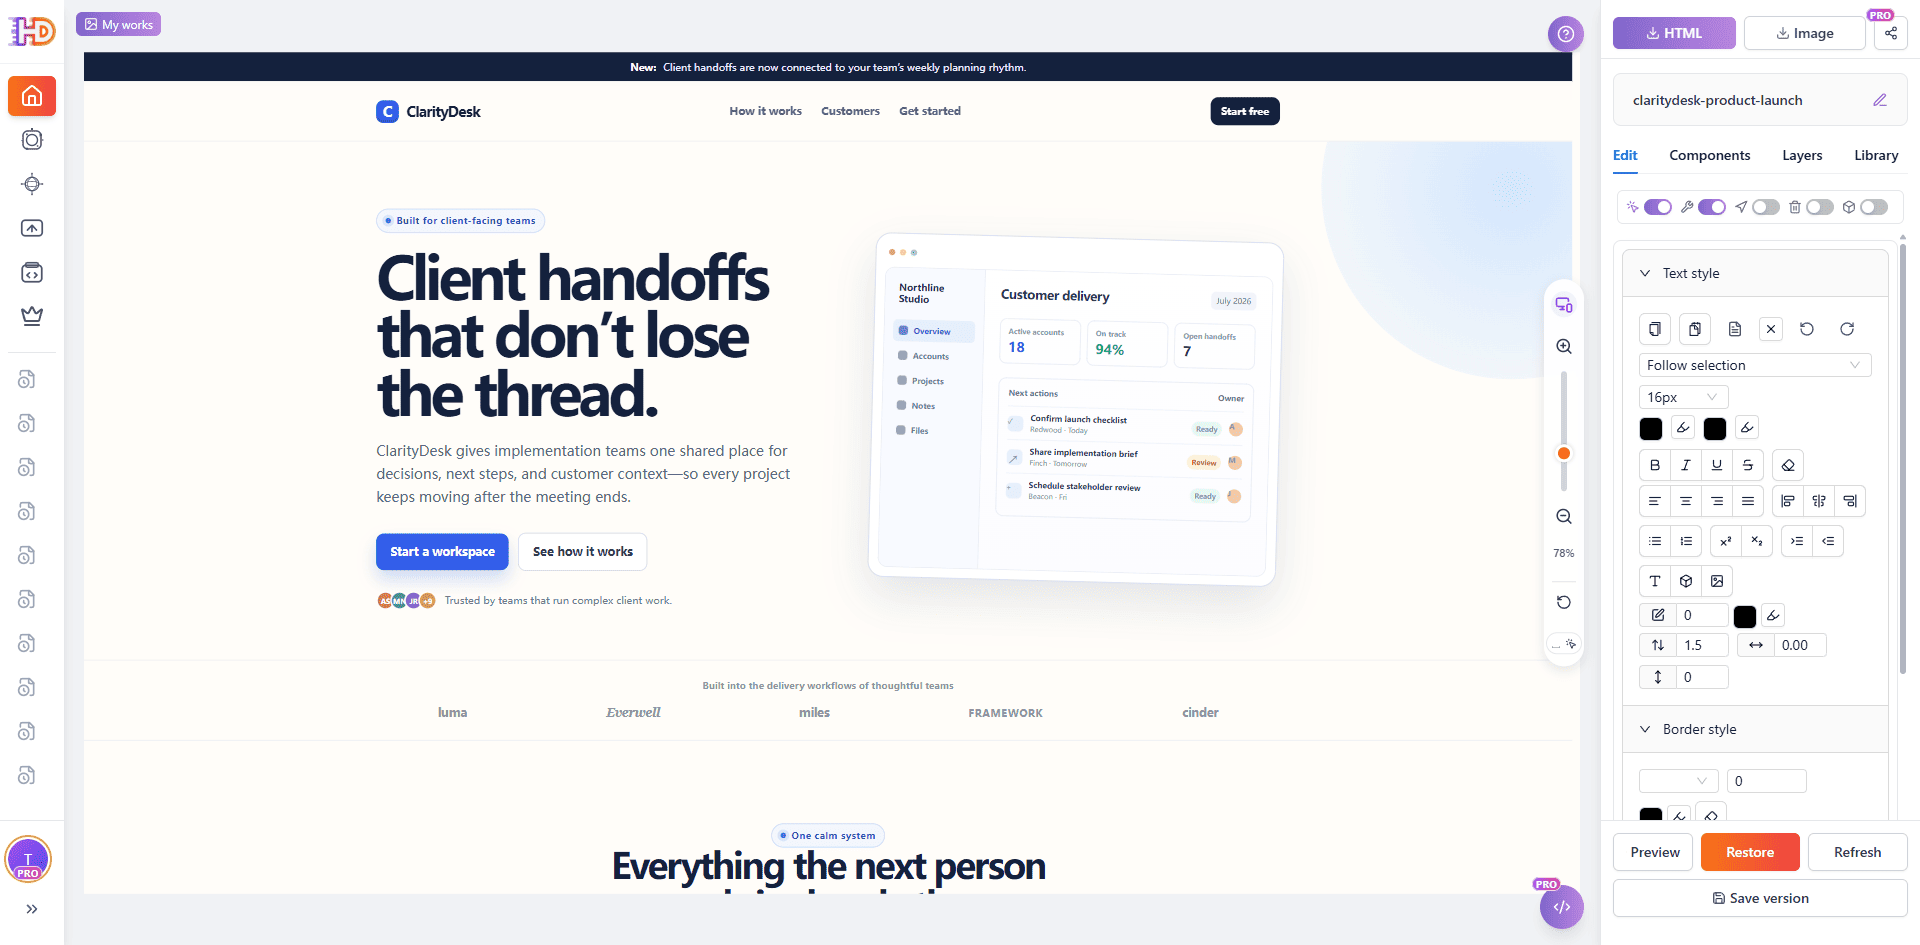
Once the work is created, the original landing page appears on the canvas. The page content remains the reference point, while HtmlDrag provides editing controls in the surrounding interface. Before changing anything, look at the page as a whole: the ClarityDesk hero, dashboard illustration, navigation, proof points, and feature section are already present.
This is the main difference between a final visual pass and a rebuild. You are not recreating the page section by section. You are deciding which visible detail needs attention while keeping the parts that already work.
 Make a visible correction at the right level
Step 4: Select the hero headline and refine its visual emphasis
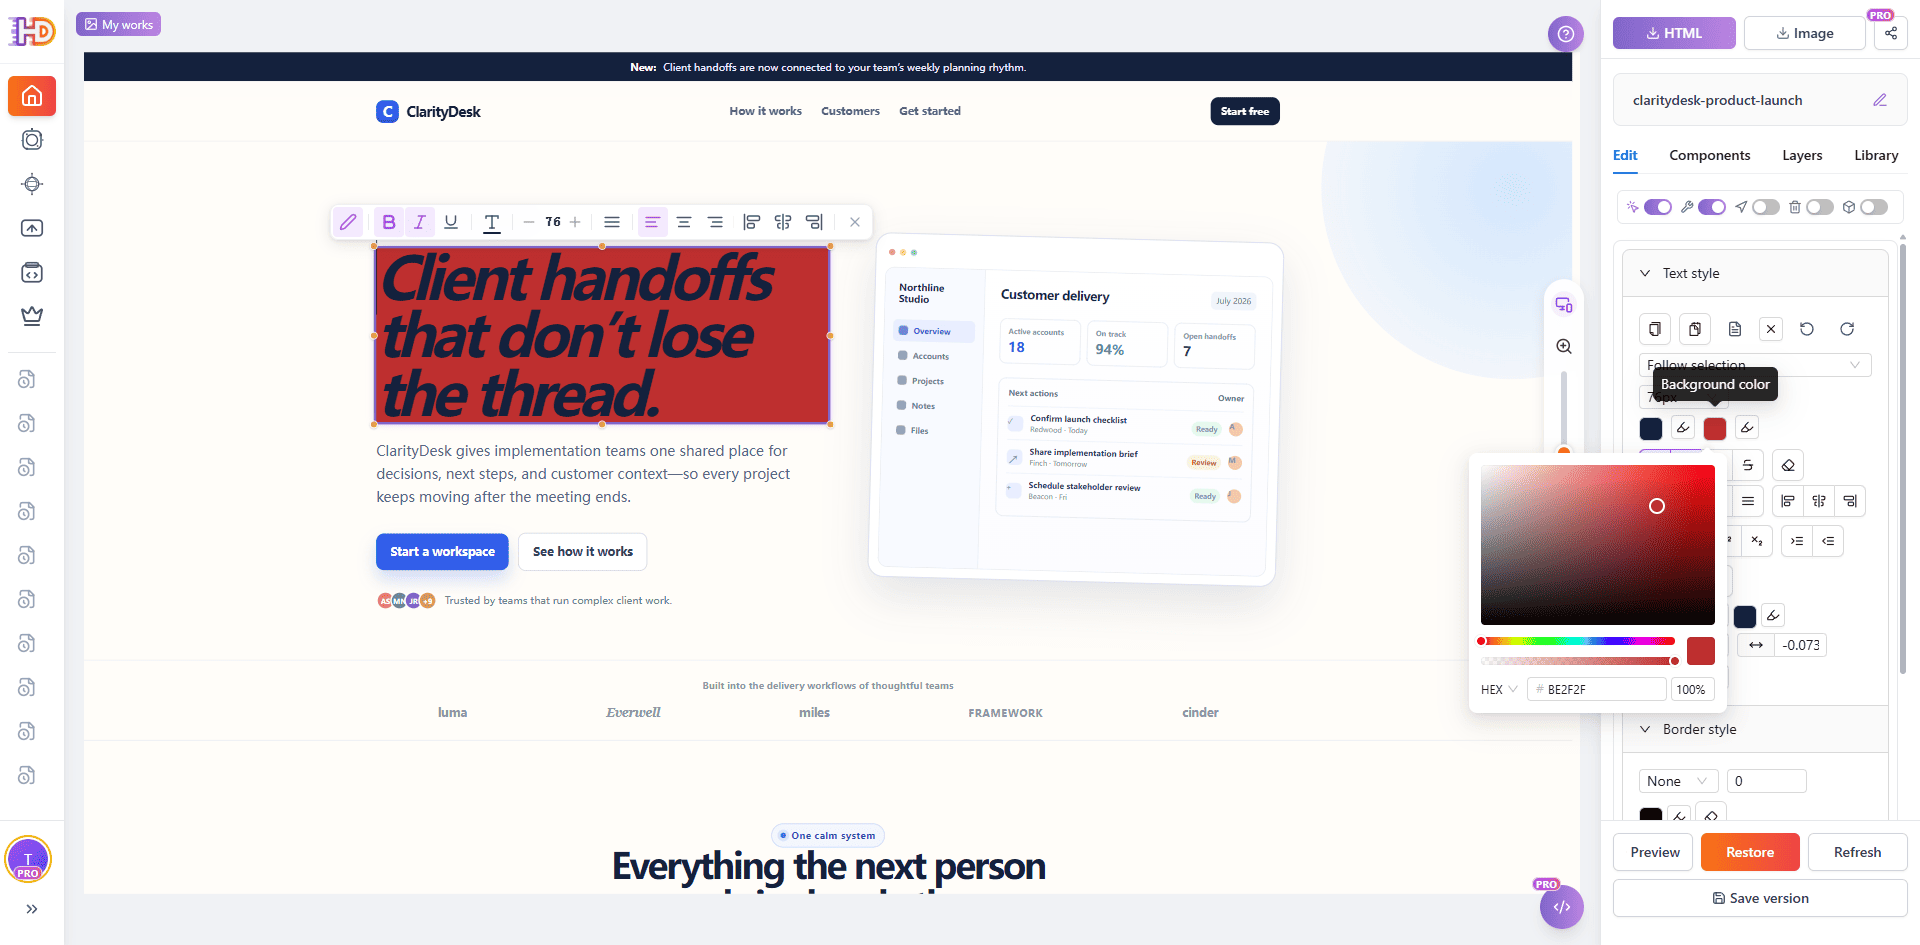
The hero headline is the most prominent message on the page, so it is a good place to make a deliberate visual change. Select the headline directly on the canvas. The inline toolbar and the text style panel expose the formatting controls for the selected content.
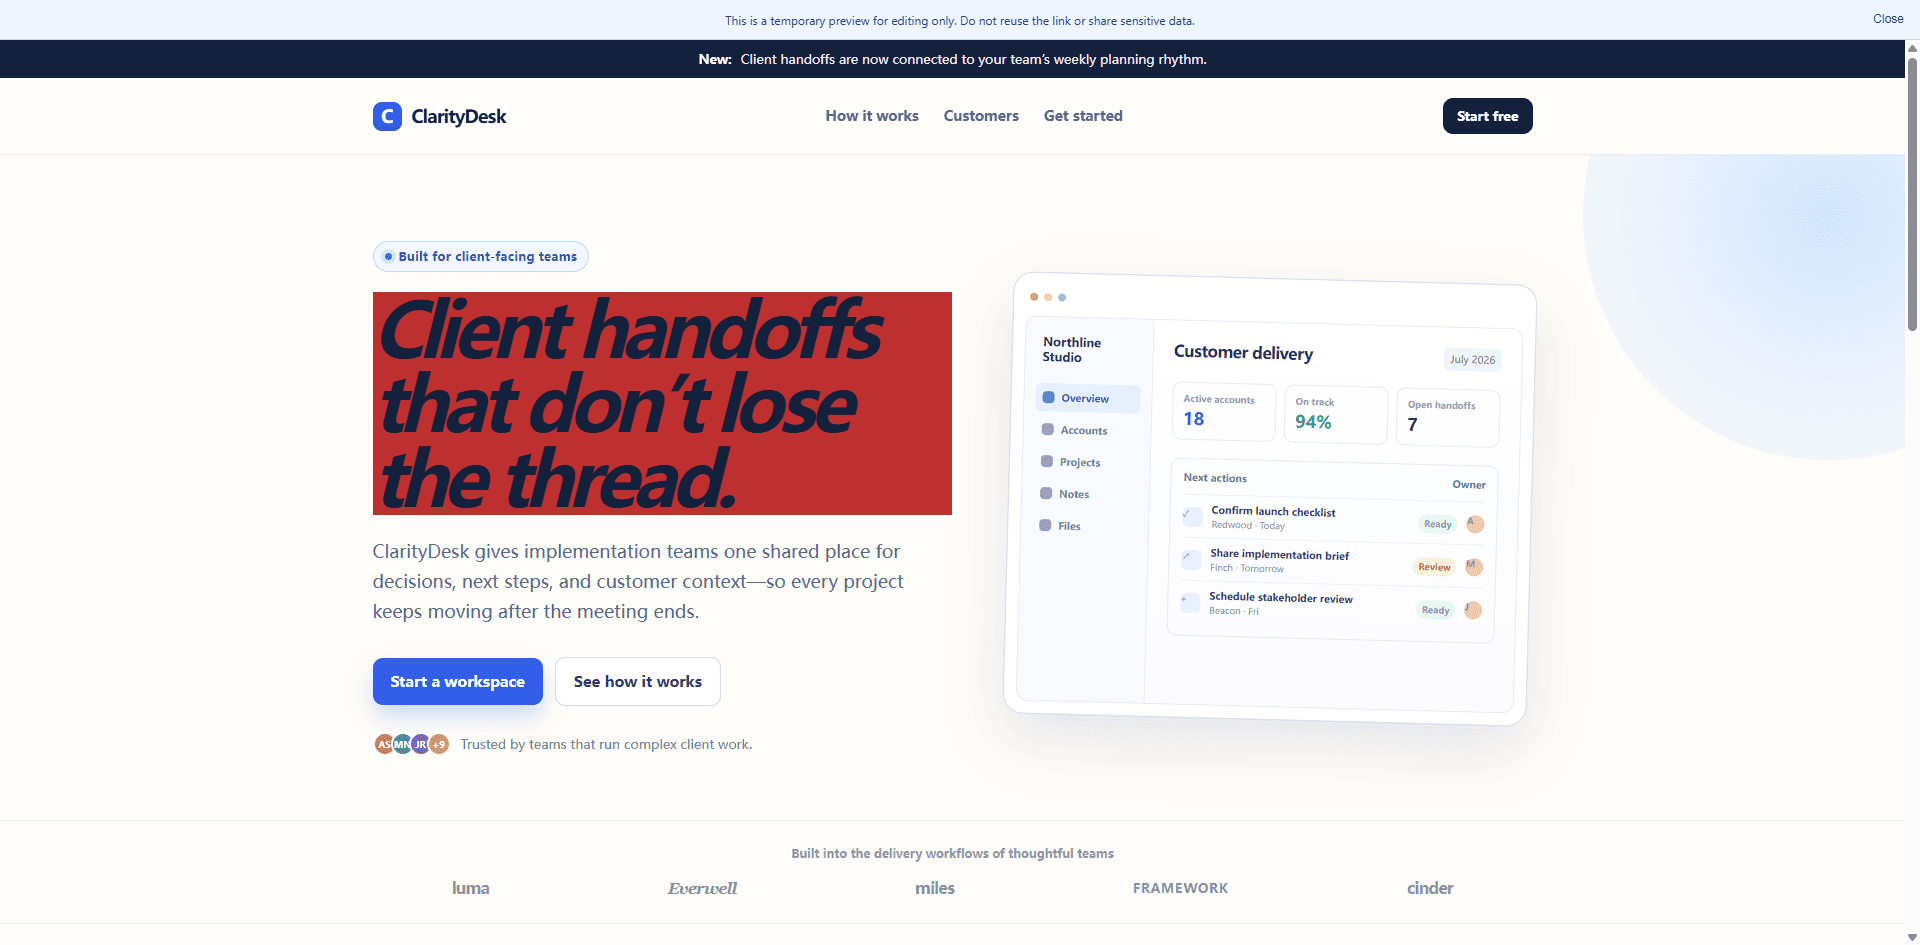
In this example, the background color control is open and a red background is being considered for the selected headline. The important part of the workflow is not that red is always the correct choice. It is that you can judge a color and emphasis change against the surrounding copy, buttons, and dashboard illustration before committing to it.
 Step 5: Review section hierarchy instead of changing everything at once
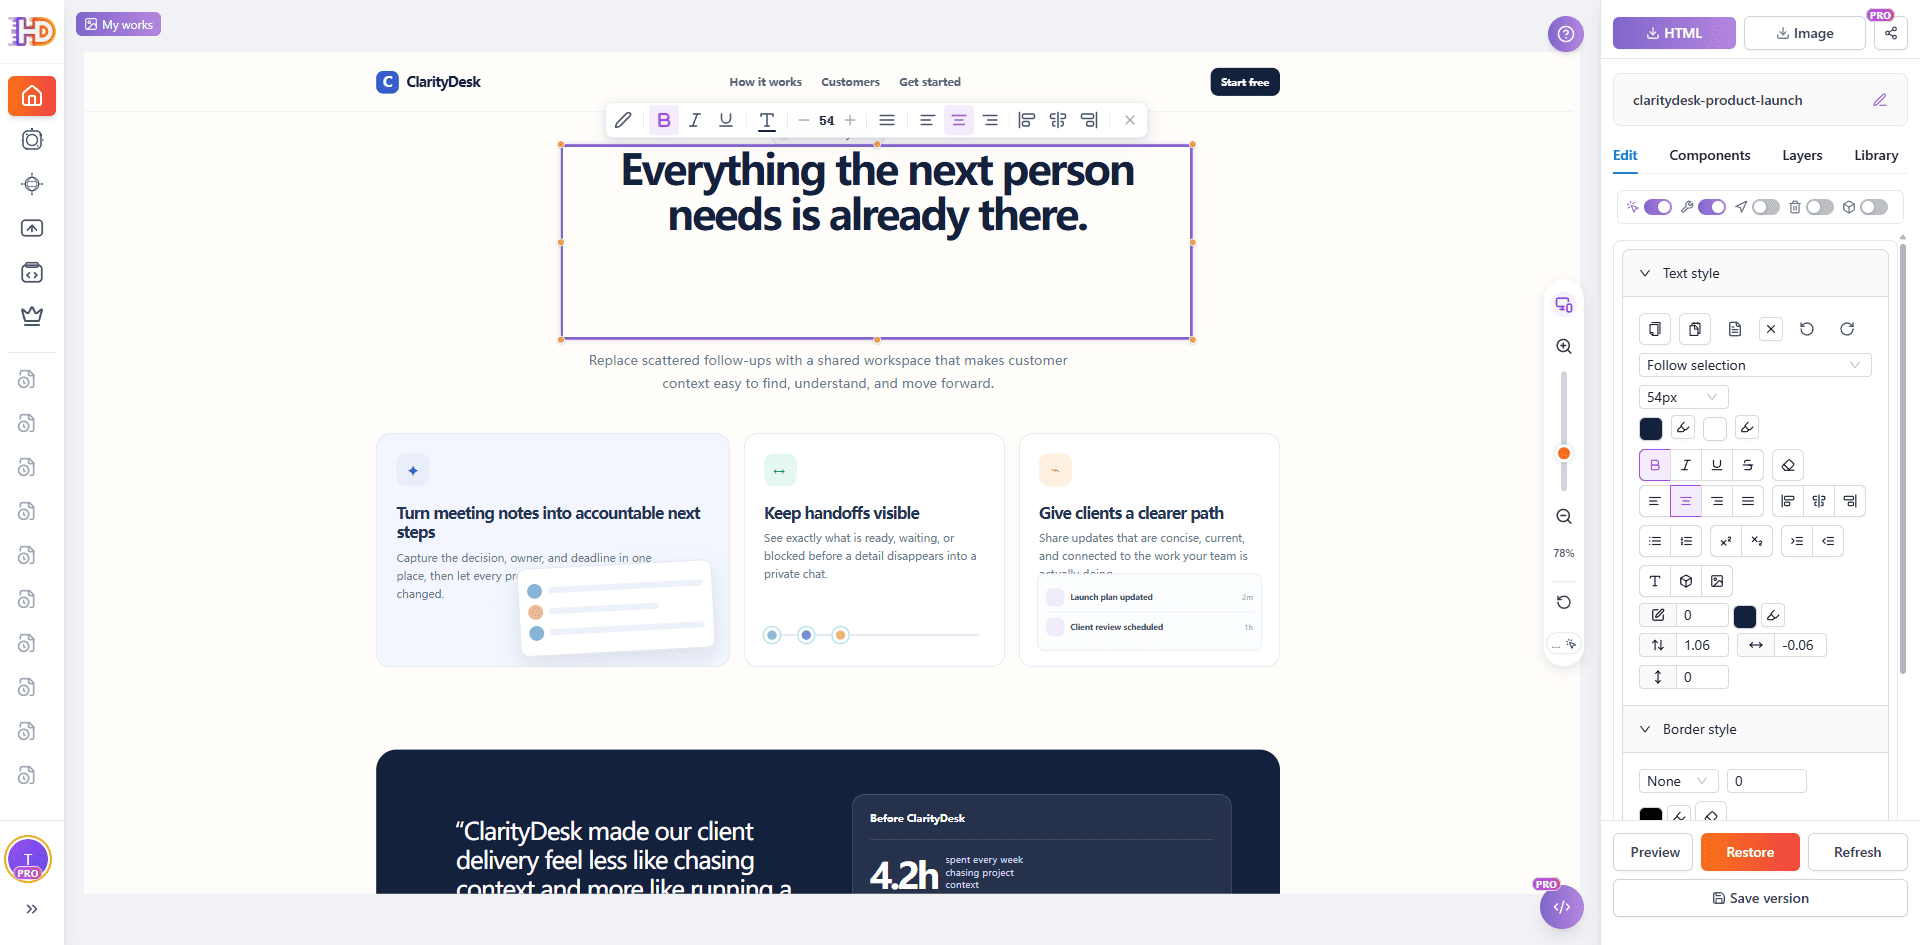
After the first change, move to another area of the page and make one independent decision. The feature section headline, “Everything the next person needs is already there,” is selected here. Its selection box and typography controls make it easier to review its size, alignment, and role in the page hierarchy.
Working one element at a time keeps the final pass understandable. If a section does not need a change, leave it alone. If it does, select the element that actually communicates the message instead of applying broad changes to the entire page.
 Step 6: Check image replacement when an asset needs updating
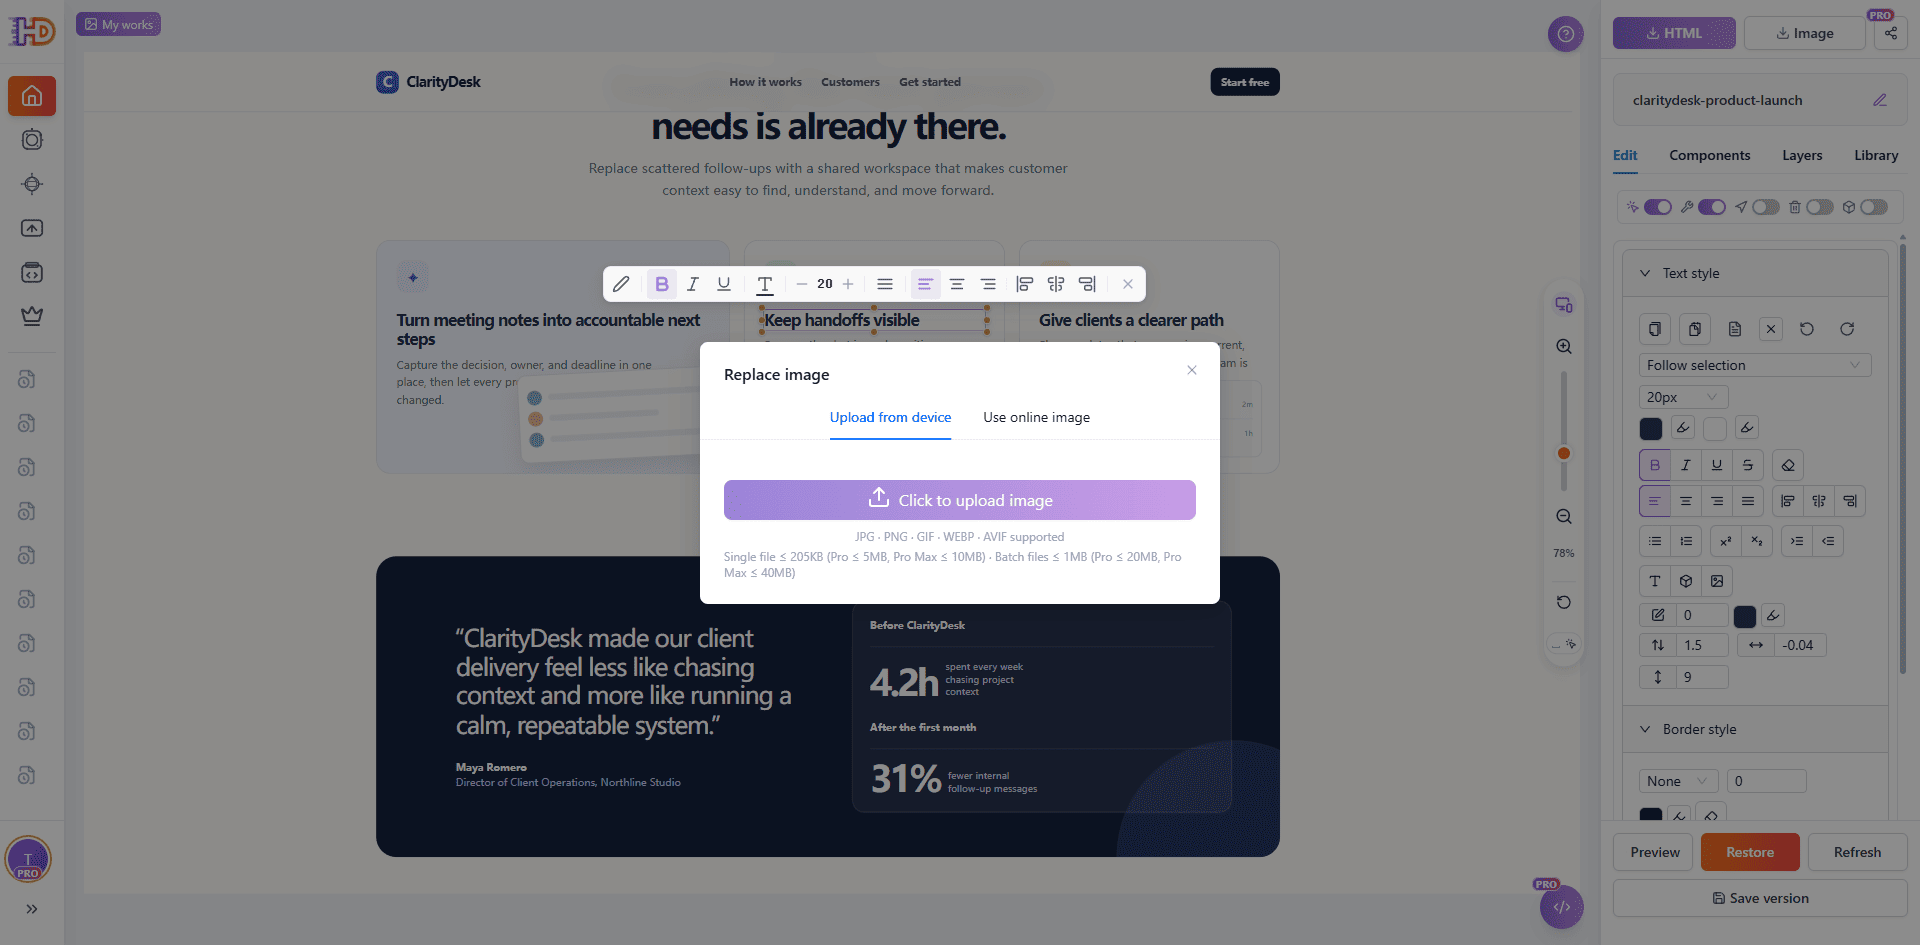
Visual refinement is not limited to text. During the review of the feature cards, the Replace image dialog is opened. The dialog offers two practical paths: upload an image from your device or use an online image.
Open this control only for the visual asset you intend to change. It is a way to keep the existing page structure while replacing an outdated or unsuitable image, rather than rebuilding the whole component for one asset update.
 Step 7: Give the closing call to action its own review
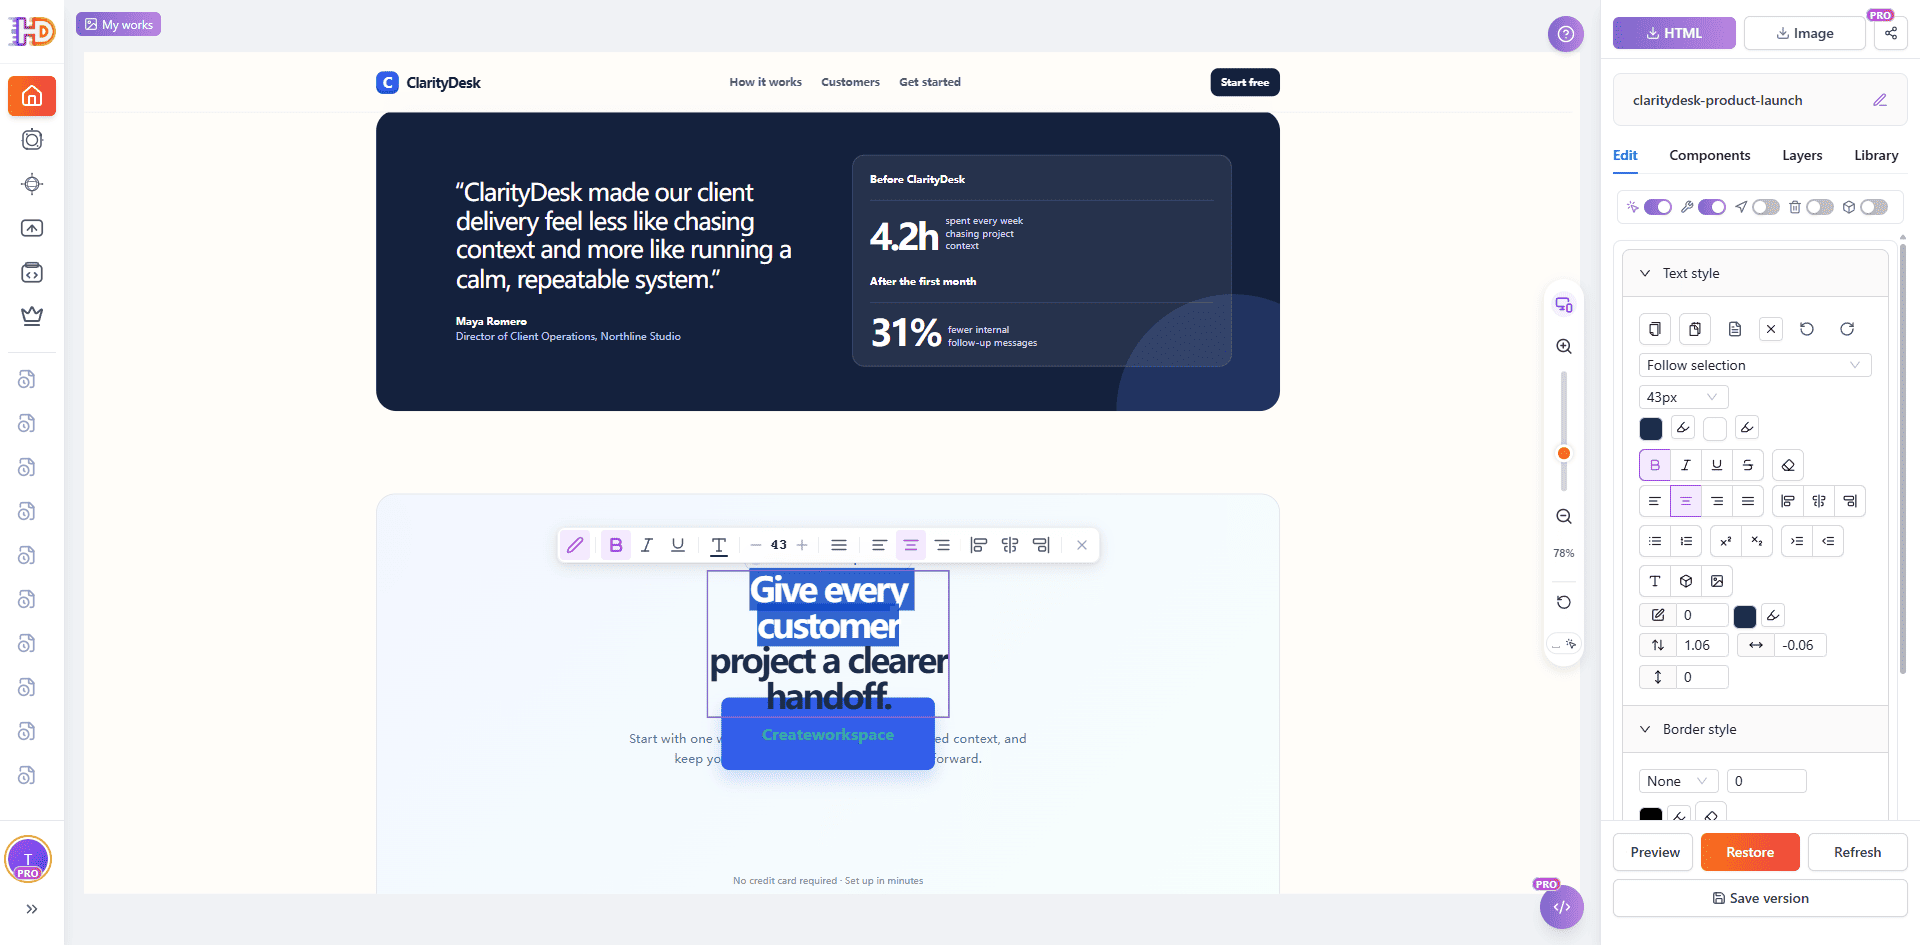
The final call to action is often where an AI-generated page needs a human decision. It has to be clear without competing with the main hero. In the ClarityDesk page, the closing message “Give every customer project a clearer handoff” is selected separately from the rest of the page.
Use the selection and text controls to review the message, scale, alignment, and contrast in its own section. This is more precise than trying to make every heading use the same treatment.
 Preview before you call the page finished
Step 8: Review the latest visual result
Preview removes the editing controls so you can inspect the result as a visitor would see it. In the preview, the hero headline now shows the selected red background treatment while the page’s original navigation, dashboard illustration, and supporting content remain in place.
Use this last check to answer three questions:
- Did the visible change improve the message or hierarchy?
- Did the adjustment create an unintended contrast, spacing, or readability issue?
- Is the page ready to save, copy, or export as HTML?
The preview link shown in the editor is for reviewing the current work. Treat it as a temporary editing preview, not as a public production URL.
 What to check after a visual HTML edit
A final pass is not only about changing a color or shortening a sentence. Before exporting, review the page in context:
- Does the headline still lead naturally into the supporting paragraph and primary action?
- Does the selected color have enough contrast with the text and its surrounding section?
- Does the closing call to action still feel connected to the rest of the page?
- If you opened image replacement, did you choose the correct asset and keep its role in the layout clear?
- Have you checked the page at the screen sizes that matter for your audience?
Not every problem belongs to the same editing layer. Canvas drawings, externally hosted IFrames, and script-driven interactions may need source-level work. For ordinary page content, headings, colors, buttons, and supported visual assets, a targeted visual edit is often the fastest way to complete the page without discarding the usable draft.
Frequently asked questions
Can I edit an AI-generated website without coding?
For many visible page changes, yes. Open the existing HTML in a visual editor, select the element you can see, adjust supported text, styles, or assets, and then preview the result before export.
Should I regenerate a page when one headline or call to action looks wrong?
Usually not. If the page structure, content, and supporting sections are already useful, a targeted visual edit is less disruptive than regenerating the entire page for one local problem.
Can I replace an image in an existing HTML page?
When the visual asset is supported by the editor, use the image replacement flow to upload a local file or select an online image. Review the final page afterward to confirm that the new asset still fits the surrounding content and layout.
Conclusion
AI-generated websites are valuable because they make the first draft faster. A visual finishing pass makes that draft more deliberate. Start with the HTML you already have, select the exact visible element that needs attention, make one focused change, and preview the result before delivery.
With HtmlDrag, you can upload an existing HTML page and refine the message, emphasis, and visual assets in context—without rebuilding the entire page or rewriting every line of code.