
An HTML template can give you a strong starting point for a landing page, event page, portfolio, or product campaign. The difficult part often comes later: the structure is useful, but the copy, image, emphasis, and spacing still belong to an earlier project.
That is when many people ask how to edit an HTML template without coding. They do not necessarily need a new website builder or a completely regenerated page. They need a way to keep the existing layout and make the visible changes that turn a generic template into a page for their own audience.
This guide explains a practical workflow for customizing an existing HTML template visually. The example uses a standalone creative operations workshop page called Northstar Studio. The page is already a complete business landing page; the goal is to inspect it, change the parts that need attention, and verify the page before delivery.
What does it mean to customize an HTML template?
Customizing an HTML template means adapting an existing page to a new business, campaign, or audience while preserving the parts of the layout that already work. Typical changes include:
- rewriting the hero headline and supporting copy;
- replacing a template image with a relevant visual asset;
- changing colors, emphasis, or button treatment to match a brand;
- moving or resizing a visible element when the page hierarchy needs adjustment;
- checking the final page as a visitor would see it before exporting the HTML.
The important distinction is that you are editing an existing HTML document, not starting from a blank canvas. The template remains the structural reference. Your job is to decide which visible elements need a focused change and which elements should stay untouched.
Why customize an existing HTML template instead of rebuilding it?
Rebuilding can make sense when the template has the wrong structure, missing sections, or code that cannot support the intended page. It is usually unnecessary when the page already has a working navigation, hero, content sections, and call to action.
A targeted visual pass is useful when the problem is local. You may only need to update one headline, replace one image, change the visual emphasis of a section, or reposition an element. Rewriting the whole HTML file for that kind of change can introduce new spacing, hierarchy, and responsive issues in areas that were already acceptable.
Starting from the existing HTML also makes the work easier to review. You can compare the page before and after each decision instead of trying to remember which parts a new generator changed.
What to check before editing an HTML template
Before you change a downloaded or previously created template, make a short inventory of the page:
- Which message should a visitor understand first?
- Which image or visual asset belongs to the new campaign?
- Which colors and button styles should represent the current brand?
- Which sections already work and should be preserved?
- Which links, forms, scripts, and external assets need a separate functional check?
This separates visual customization from functional redevelopment. A visual HTML editor is well suited to the visible page decisions, while forms, JavaScript interactions, third-party embeds, and analytics should still be tested in their own workflow.
How to customize an HTML template without coding
The workflow used in this example is:
Upload HTML → confirm the source file → inspect the rendered template → edit text → replace an image → adjust positioning → review the CTA → preview before delivery
When you already have a local .html or .htm file, start with Upload HTML. If your starting point is code copied from another tool, Paste Code can provide a similar handoff into the visual editing workflow. This article follows the uploaded-file path because the example is an existing standalone HTML page.
Step 1: Upload the existing HTML template
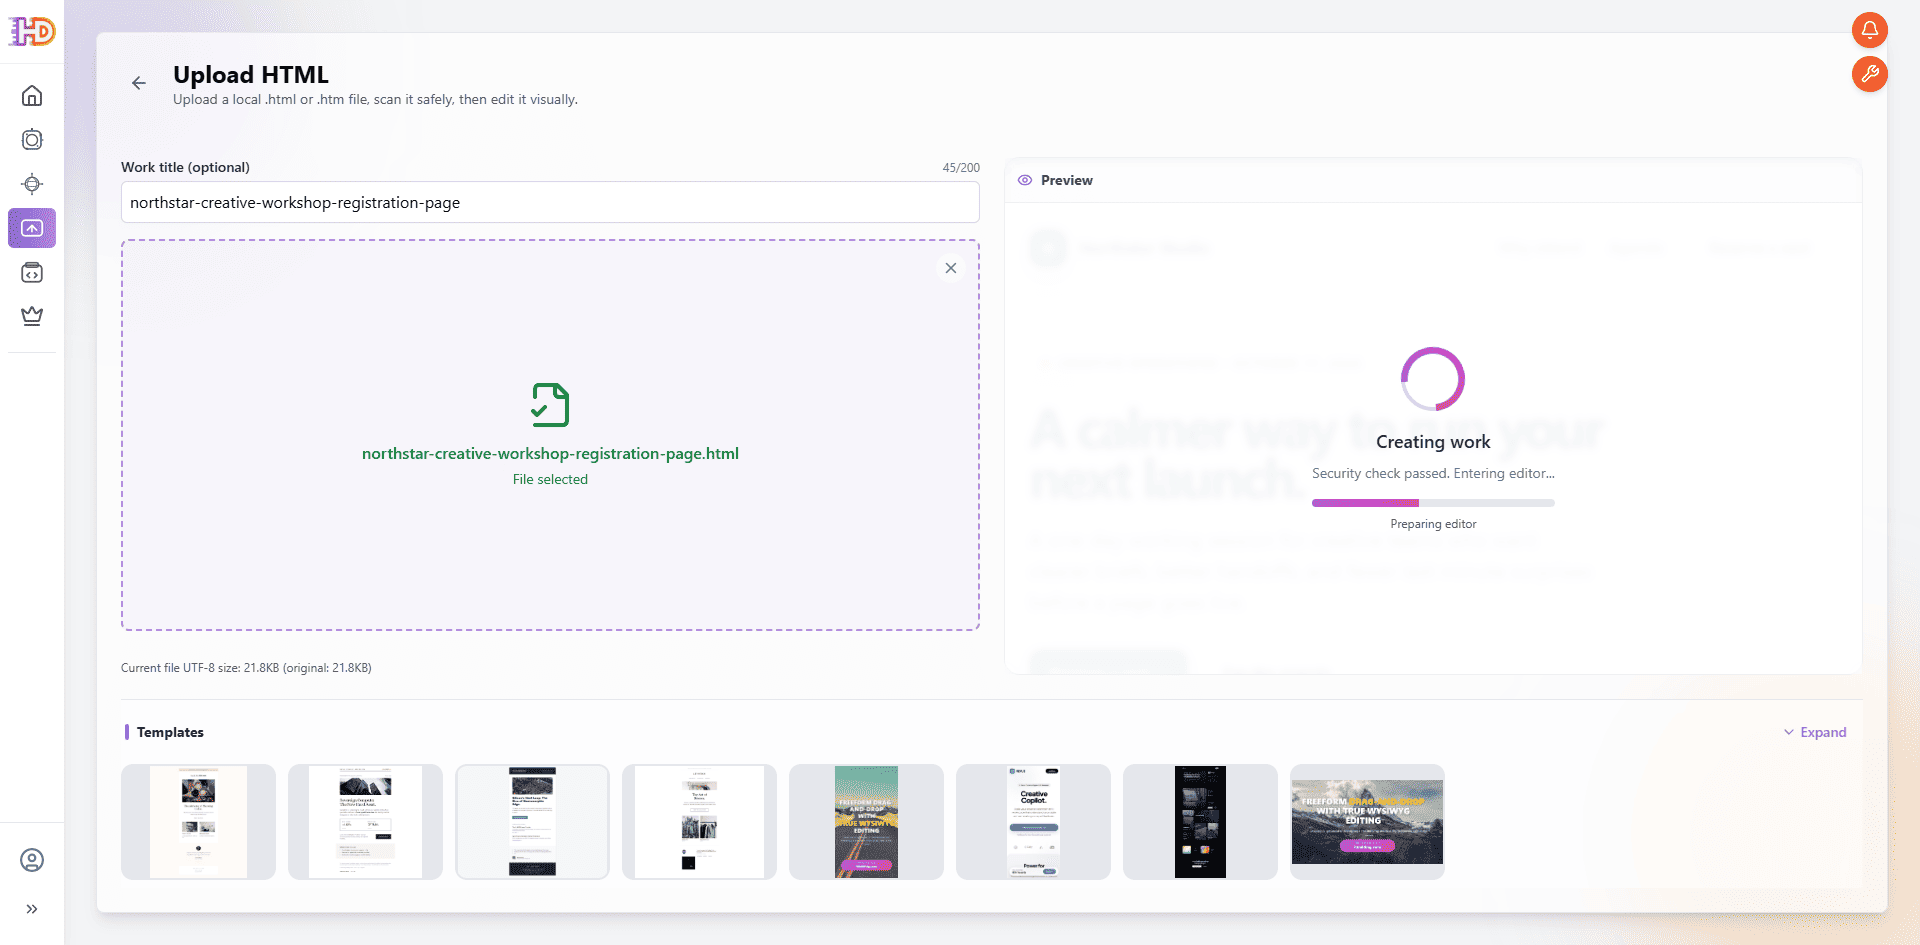
Open the Upload HTML entry and select the file you want to customize. In this example, the source file is northstar-creative-workshop-registration-page.html. The work title is filled in before the editor prepares the page. This stage confirms the source document and gives you a preview of the handoff from a local file to a visual workflow.
 Step 2: Inspect the existing template in the visual editor
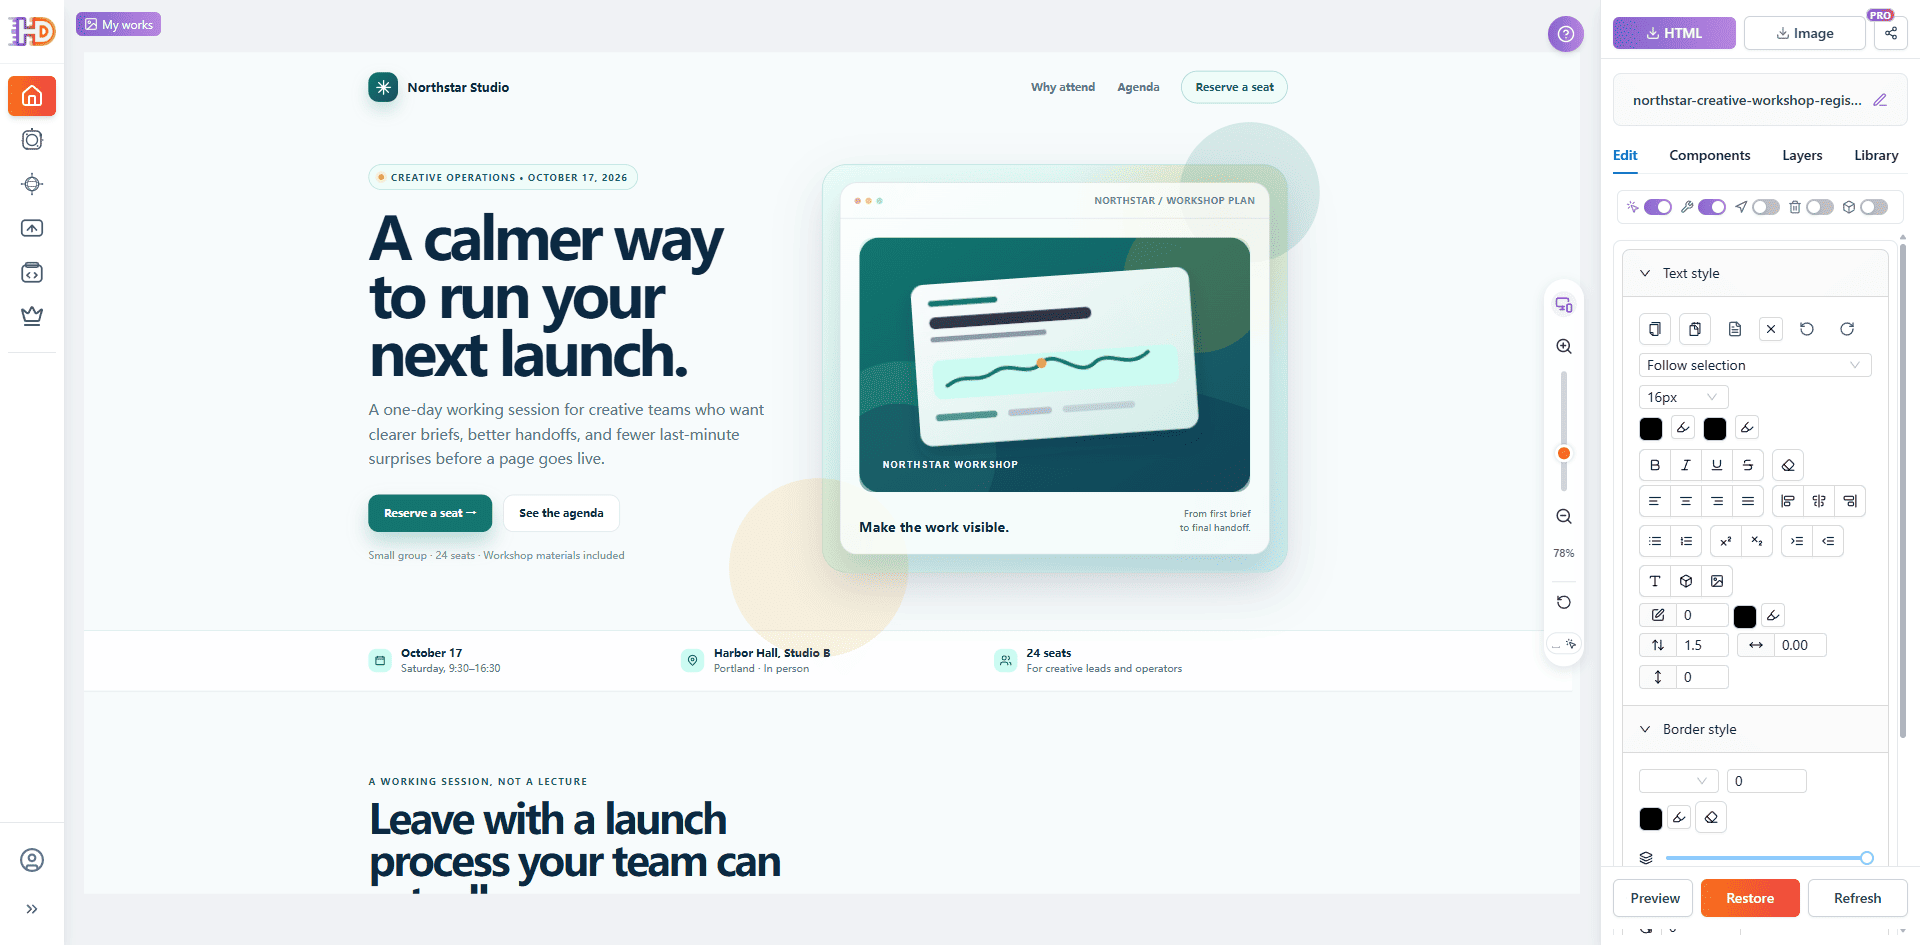
After the work is created, inspect the page as a complete composition before changing anything. The Northstar Studio page already contains its navigation, workshop date, hero message, planning visual, information strip, agenda, quote, and registration section.
This first inspection is important because it keeps the template as the source of truth. You can see which sections are useful, which parts look generic, and which visible element should receive the next edit.
 Step 3: Edit the template copy in context
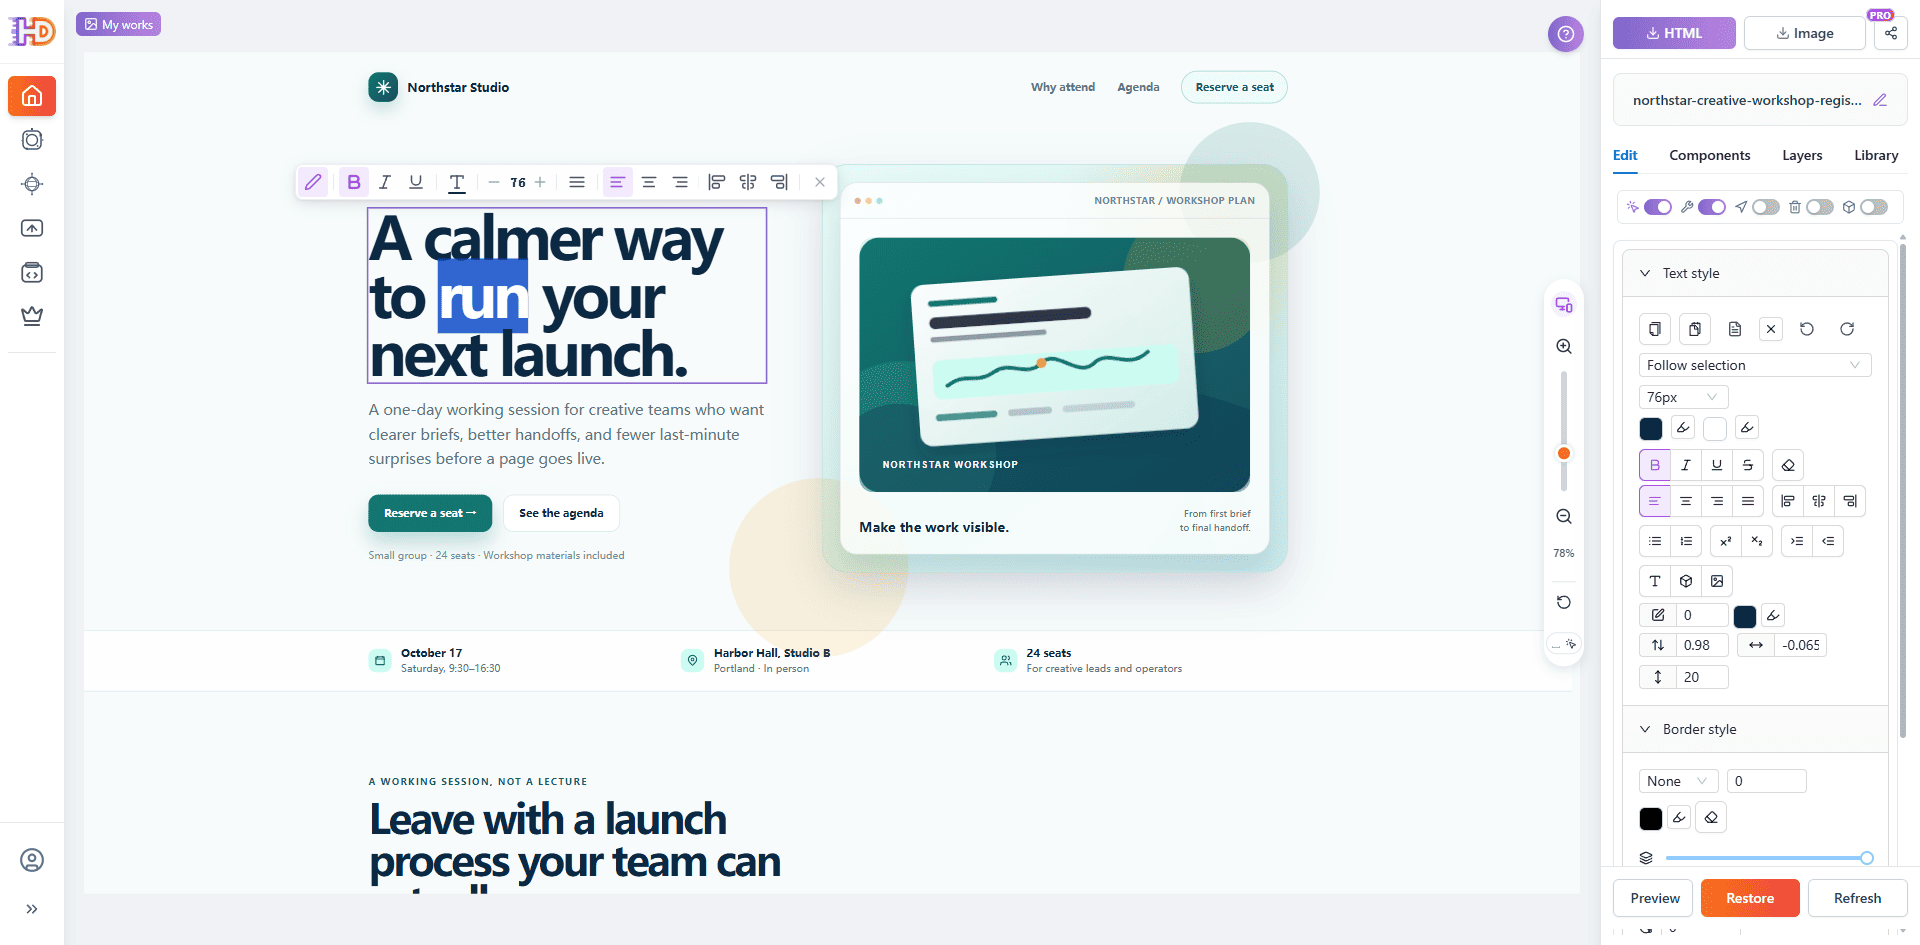
Select the visible hero headline or the specific text that needs a new message. The inline toolbar and text controls make the selected text easy to review against the surrounding image, supporting paragraph, and primary button.
You do not have to rewrite every sentence in the template. Start with the message that determines whether the page feels relevant to the new audience. A focused text edit is easier to judge than a broad copy replacement that changes the entire page at once.
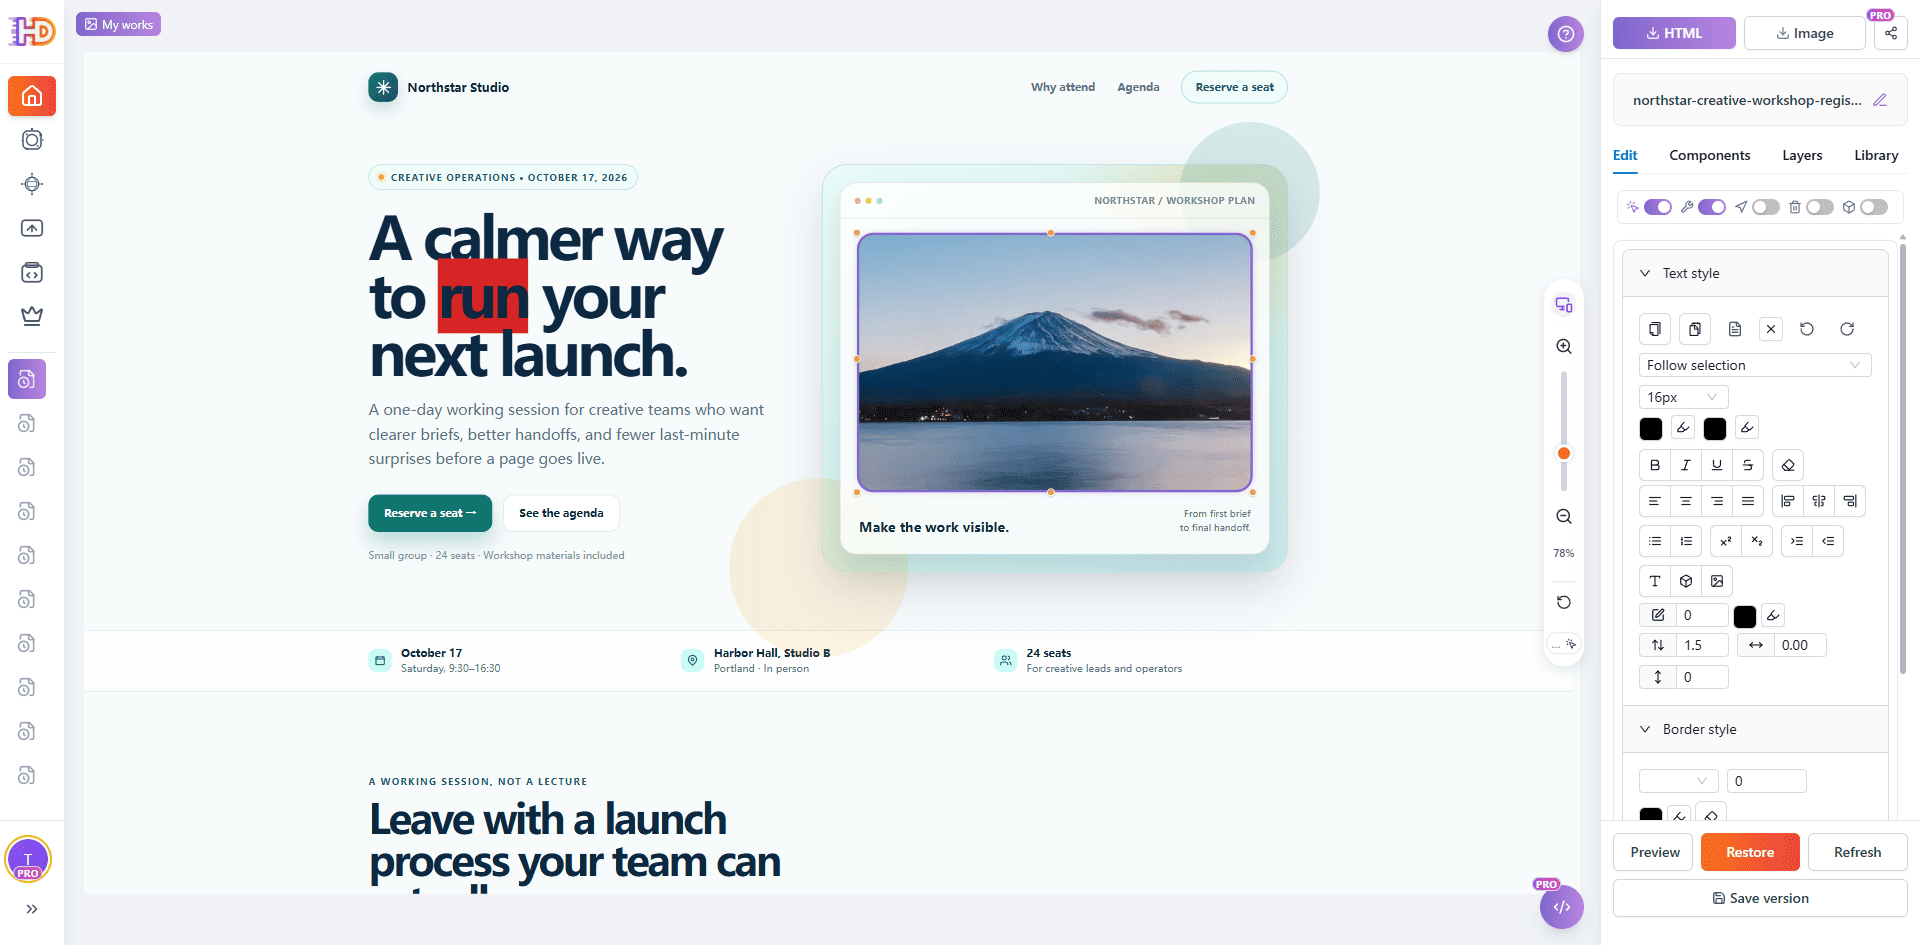
 Step 4: Replace an image in the HTML template
Template customization is not only about text. When the existing image belongs to the old project, select the image element and open its context menu. The Replace image action provides a focused way to update the asset while keeping the surrounding page structure.
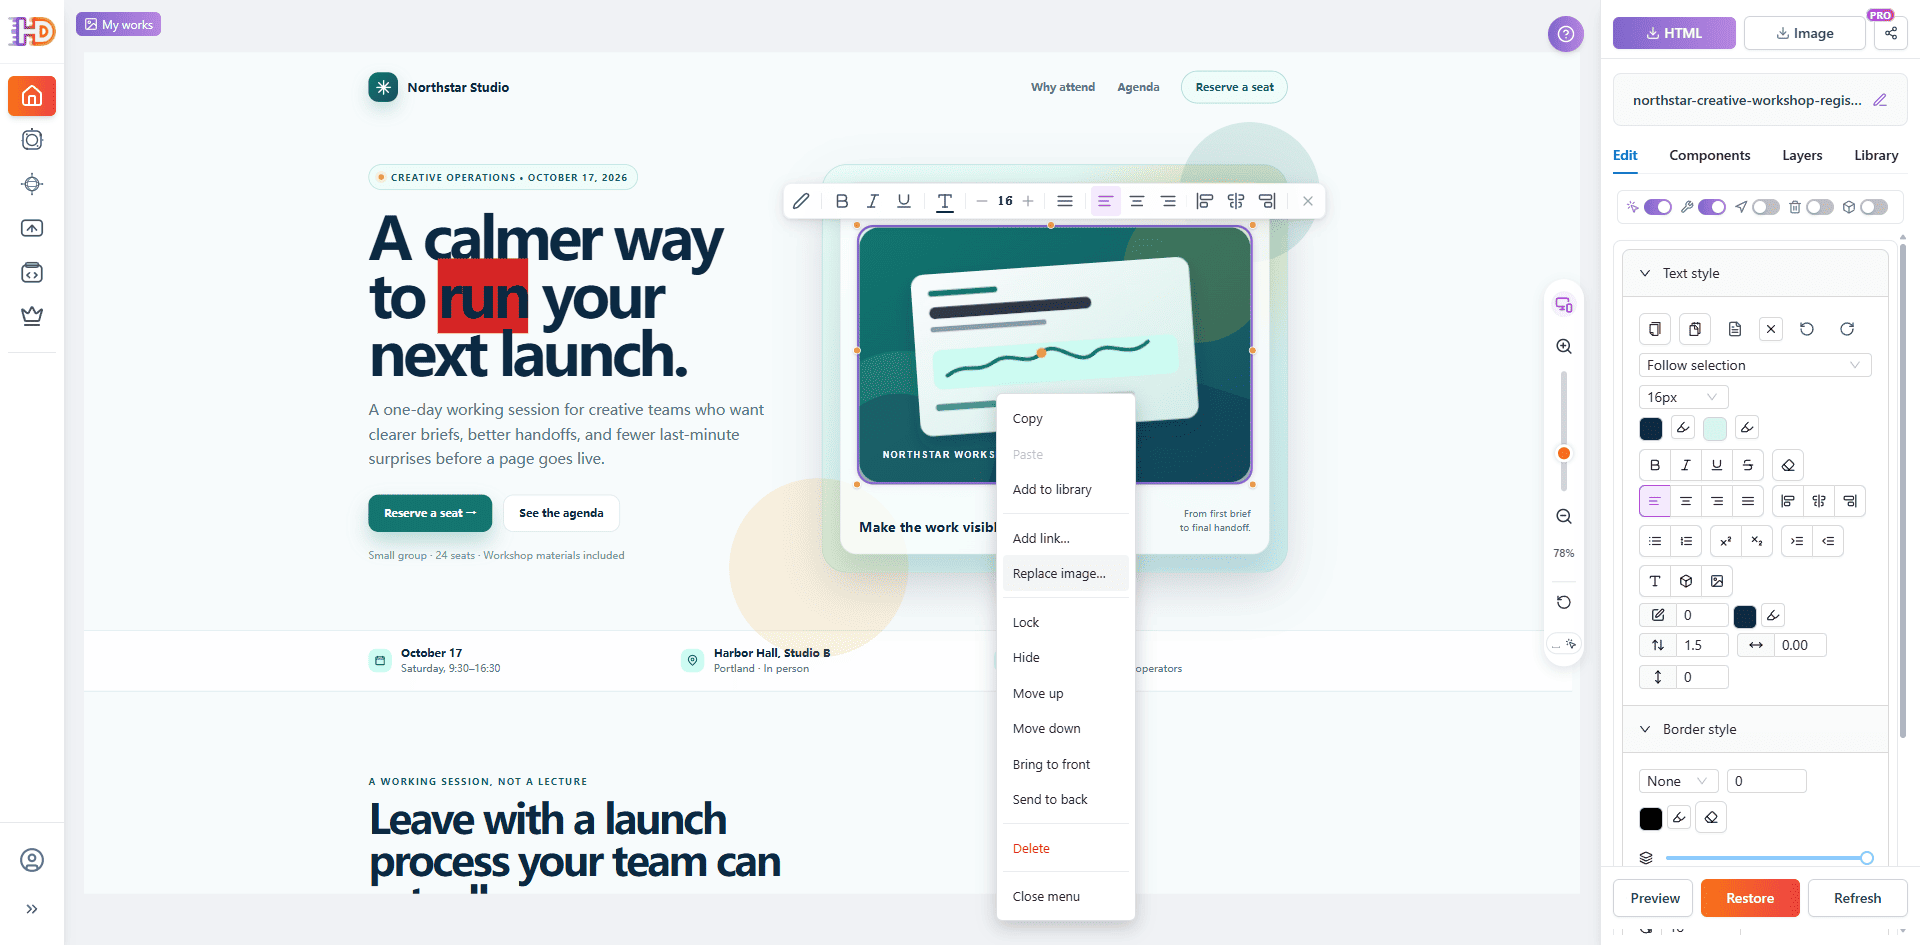 After the replacement, check the new image in the same page context. The asset should support the page message, fit the available space, and keep the nearby headline and call to action readable.
 Step 5: Adjust the position of a visible element
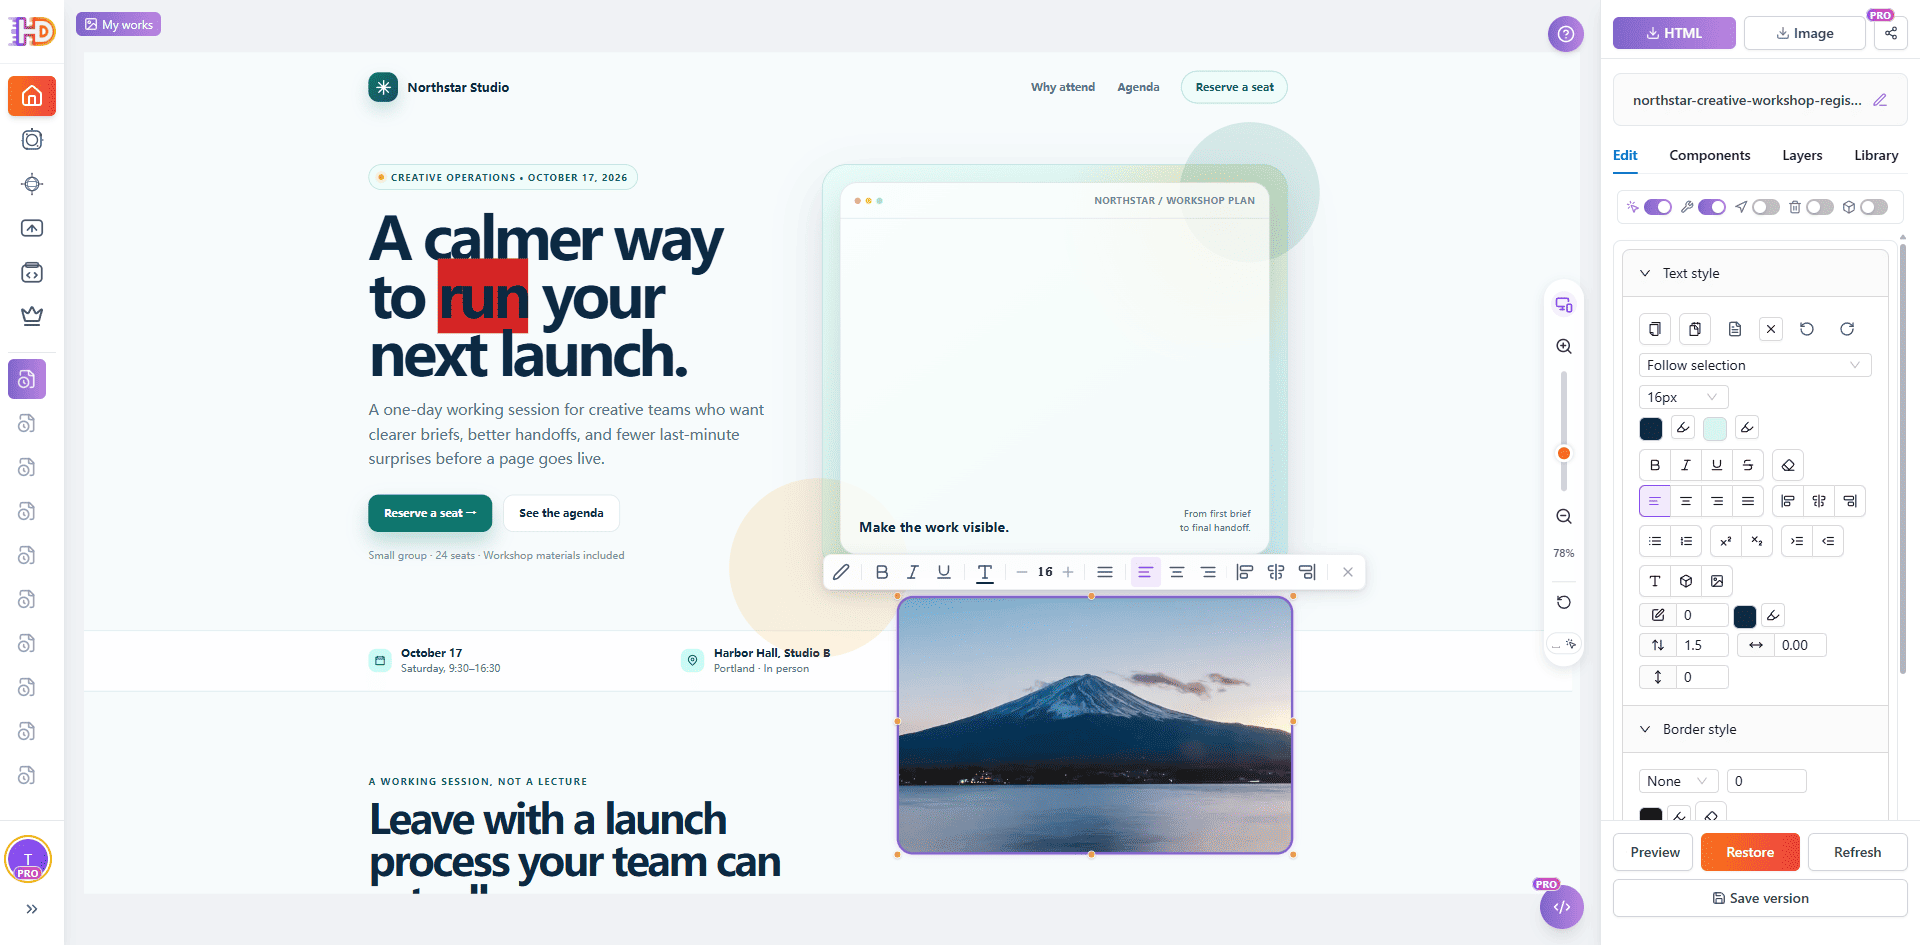
Some template changes are about composition rather than content. If an image or block should sit in a different part of the page, select it and review its position in relation to the surrounding sections.
This is where visual editing is more useful than guessing from source code: the effect of a move is visible immediately. If the new position weakens the hero hierarchy or creates an empty area, restore it and try a smaller adjustment.
 Step 6: Give the call to action its own review
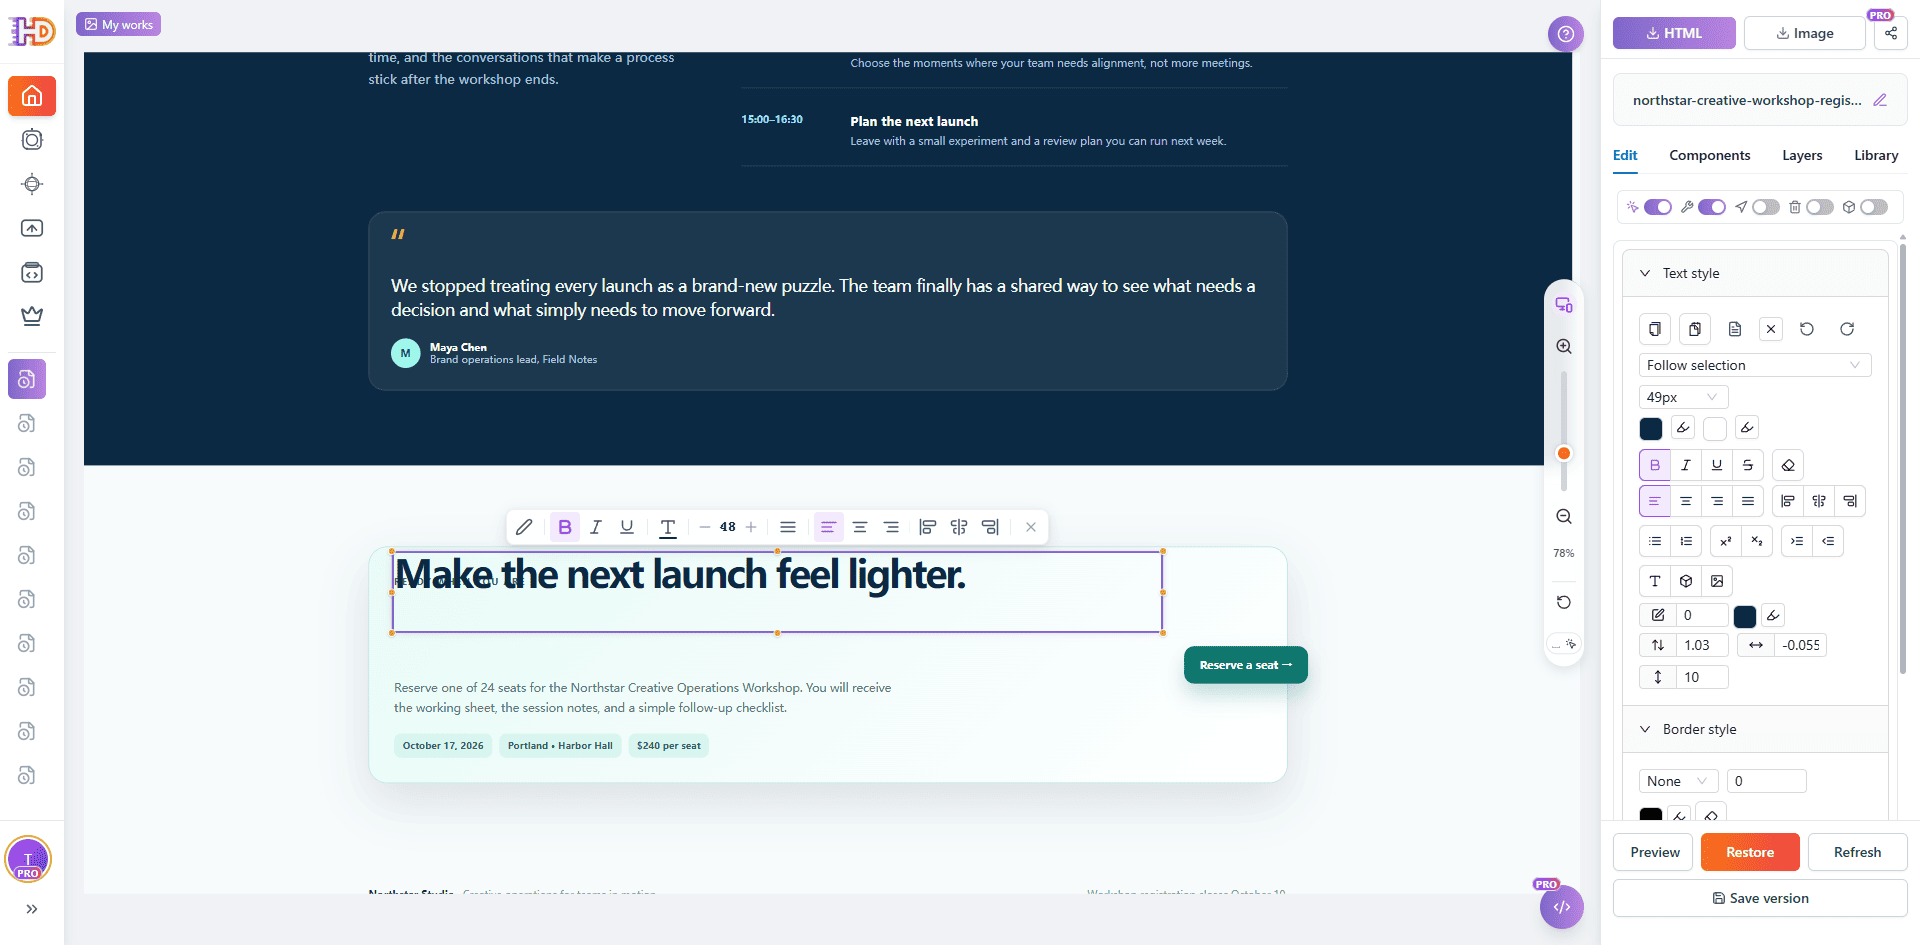
A customized template should guide visitors toward the action that matters. Select the closing CTA heading or button area and check its size, spacing, contrast, and relationship to the supporting information.
The goal is not to make every section visually loud. It is to make the next step understandable after the visitor has read the page. A CTA can stay structurally identical to the template while still needing a more specific message or visual emphasis.
 Step 7: Preview the customized HTML page before delivery
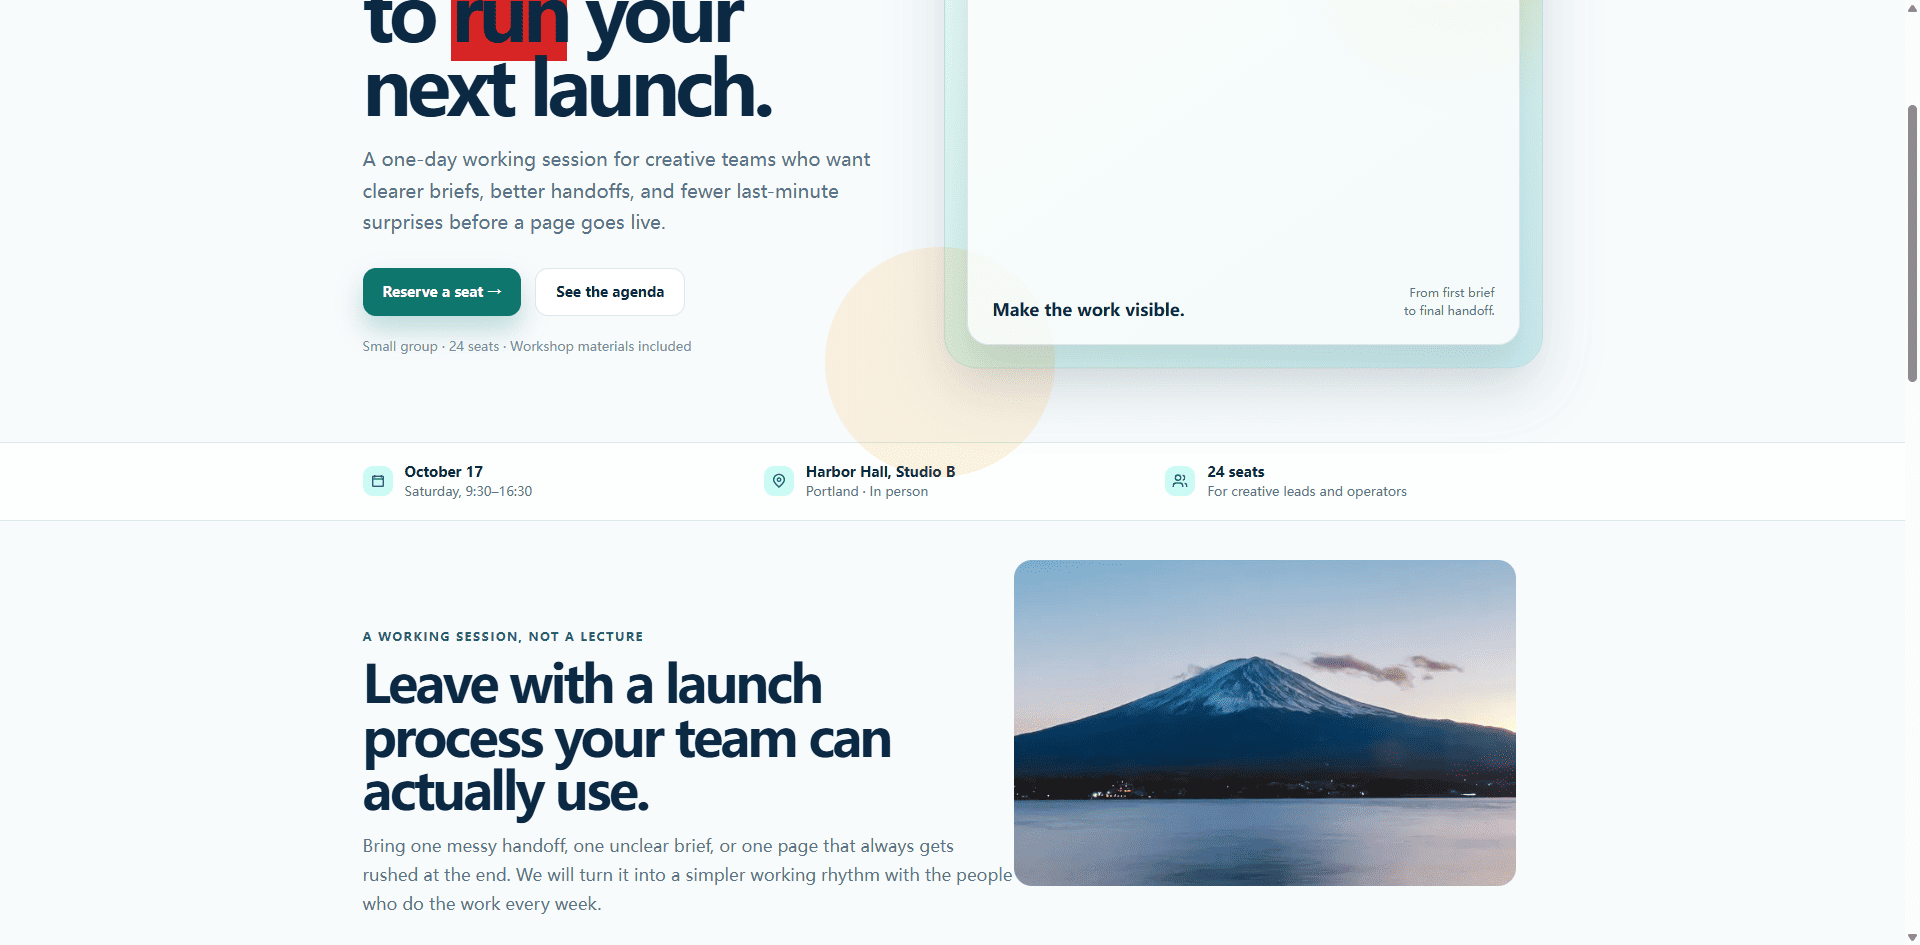
Once the local edits are complete, review the page without relying only on the selected element. Check the complete reading path from the hero to the supporting content and then to the final CTA.
The final view should help you catch issues that are easy to miss during editing: an image that moved away from the section it explains, an accent color that reduces contrast, a headline that breaks at an awkward width, or a CTA that no longer feels connected to the page.
 HTML template customization checklist before export
Before you save, copy, download, or export the customized page, review these areas:
- Message: Does the hero explain the page to the right audience?
- Hierarchy: Does the headline lead naturally to the supporting content and CTA?
- Images: Are the replacement assets relevant, sharp, and correctly positioned?
- Brand: Do color and emphasis decisions feel intentional rather than inherited from the template?
- Responsive layout: Does the page still make sense at the screen sizes that matter?
- Functionality: Do links, forms, scripts, and external assets still work as expected?
- Output: Does the exported HTML contain the visible edits without editor-only controls?
When visual HTML editing is the right tool
A visual HTML editor is a good fit when the existing template is structurally useful and the work is mainly about visible text, images, colors, spacing, positioning, and final review. It is especially useful for marketers, designers, founders, and small teams who need to adapt a page without opening every CSS rule.
It is not a promise that every HTML surface behaves like ordinary text. Canvas drawings, cross-origin IFrames, script-driven interactions, complex forms, and third-party integrations may require source-level changes or separate functional testing. The practical goal is to edit the supported visible layer while keeping those boundaries clear.
Frequently asked questions
Can I edit an HTML template without coding?
For many visible changes, yes. Upload the existing HTML file, select the text, image, or layout element that needs attention, make a focused edit, and preview the page before exporting it. Code-level features still need their own validation.
Can I customize a downloaded HTML template online?
Yes, when the template can be opened as a supported HTML file. Start by checking the source file and its assets, then use a visual editing workflow to update the content and presentation that visitors see.
Can I replace an image in an existing HTML template?
When the image is supported by the editor, select it and use the image replacement flow. Afterward, check the crop, contrast, position, and relationship between the image and nearby text.
Should I rebuild a template if only one section looks wrong?
Usually not. If the rest of the page is useful, a targeted visual edit is less disruptive than rebuilding the whole HTML document for one local problem. Rebuild when the page structure or functionality genuinely needs to change.
What should I check before exporting a customized HTML page?
Review the complete page hierarchy, image placement, color contrast, CTA clarity, responsive behavior, links, forms, scripts, and the cleanliness of the final exported HTML.
Conclusion
Customizing an HTML template does not have to mean rewriting the page from scratch. If the existing layout already gives you a useful foundation, keep it as the reference and make the visible decisions that bring it closer to your actual audience and campaign.
With HtmlDrag, you can upload an existing HTML page, edit supported text, images, and layout visually, and preview the result before delivery. The best workflow is focused: preserve what works, change what matters, and verify the complete page before you export it.